
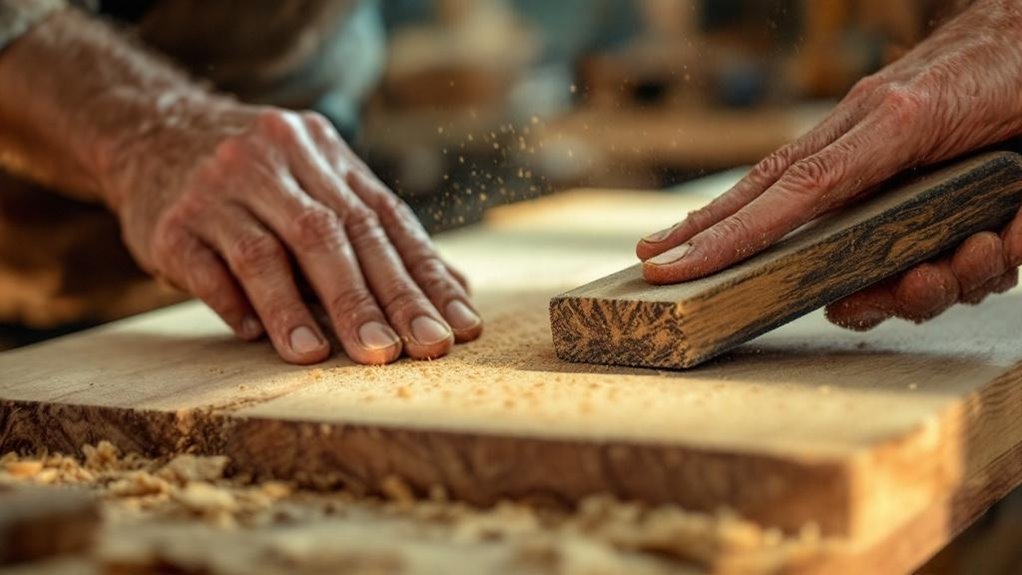
Sanding’s your foundational step toward professional-quality finishes. You’ll eliminate raw wood imperfections—dents, scratches, and mill marks—that compromise aesthetics and durability. Proper sanding expands bonding surfaces for stronger glue adhesion, prevents joint failures, and creates smoother surfaces that absorb stains and sealants evenly without blotchiness. You’ll also enhance coating adhesion between finish applications. Master the progression from coarse to fine grits, and you’ll discover how this single technique transforms your entire woodworking results.
Key Takeaways
- Sanding removes imperfections like dents, scratches, and mill marks, creating a smooth, professional surface.
- Proper surface preparation ensures better adhesion of stains, paints, and sealants for improved durability.
- Sanding before assembly improves glue adhesion and joint alignment, preventing shifting or separation over time.
- Following correct grit progression prevents visible scratches and ghost marks in the final finished product.
- Thorough sanding establishes a quality foundation that contributes to the longevity and appearance of woodwork.
Master Sandpaper Grits: From Coarse to Fine
Understanding sandpaper grits is fundamental to achieving professional results in woodworking. You’ll progress through three distinct stages: coarse grits (60-100) aggressively remove major imperfections and level surfaces. Medium grits (120-180) eliminate deep scratches left by coarse sanding, and fine grits (180-220) create the smooth finish you need before applying stain or varnish.
Your proper sanding technique requires advancing gradually through each grit size. Skipping grits causes visible scratches in your finished product, undermining your workmanship. This sequential progression guarantees you remove scratches methodically at each stage.
For peak results, you shouldn’t overlook wet sanding with grits of 400 and above after finishing. This technique effectively eliminates dust nibs and brush strokes, delivering the professional-quality smooth finish that distinguishes superior woodworking.
Why Sanding Transforms Raw Wood Into Professional Finishes
When you first examine raw lumber fresh from the mill, you’ll notice it’s riddled with imperfections—dents, scratches, and visible mill marks that compromise its aesthetic appeal. You can eliminate these defects through systematic sanding wood techniques.
Follow a disciplined grit sequence, progressing from coarse to fine papers, which methodically smooth out rough surfaces while preparing wood surfaces for finishing. Always sand in the sanding direction that follows the grain, preventing cross-grain scratches that’ll mar your work.
During final sanding with higher grits, you’ll achieve the polished texture that distinguishes professional projects. This preparation directly impacts how wood stain and sealants adhere, ensuring durable, visually superior results.
You’ll transform ordinary lumber into gallery-quality pieces through meticulous sanding protocols.
Choose Your Sanding Tools: Hand, Power, and Specialty Options
You’ll find that hand sanding works best for small projects and touch-ups, though it demands patience and multiple grit levels to achieve smooth results.
Power sanders—belt, orbital, and palm varieties—dramatically boost your efficiency, with each type excelling in specific applications, from aggressive large-surface work to delicate finishing tasks.
When you encounter intricate areas and tight corners that standard sanders can’t reach, specialty detail sanders provide the precision access you need for thorough work.
Hand Sanding Fundamentals
Because hand sanding demands careful control and finesse, choosing the right tools fundamentally shapes your ability to achieve refined details and smooth surfaces on delicate or intricate projects. You’ll want to use sanding blocks or pads rather than sandpaper alone—they distribute pressure evenly across the surface, preventing unwanted grooves and maintaining consistency.
Grit selection proves critical at each stage:
- Coarser grits tackle heavy material removal and initial surface preparation
- Medium grits shift between rough and fine work
- Finer grits refine surfaces to silky smoothness
- Progressive gritting guarantees superior final finishes
While power sanders excel at covering larger areas quickly, hand sanding gives you precision control that power sanders can’t match.
You’ll develop superior tactile feedback, allowing you to feel surface irregularities and respond accordingly throughout your woodworking project.
Power Sanders For Efficiency
While hand sanding delivers precision, power sanders like belt and orbital models transform your workflow by dramatically reducing the time and physical effort required to sand large surfaces.
Belt sanders excel at aggressive material removal on flat surfaces, allowing you to achieve smooth, level results quickly.
Orbital sanders offer greater versatility, handling both aggressive stock removal and delicate finishing tasks across various woodworking projects.
For intricate pieces, palm sanders provide superior control despite slower operation.
Power sanders remove material and scratches uniformly, delivering consistent finishes that hand sanding alone can’t replicate.
Specialty Tools And Applications
Beyond the standard hand and power sanders, specialty tools address specific woodworking challenges that general-purpose equipment can’t efficiently handle.
Palm sanders excel in tight spaces and precision work, offering controlled sanding in confined areas where belt sanders can’t maneuver. You’ll find these compact tools ideal for finishing touches on small pieces and delicate areas requiring finesse over speed.
When you’re targeting intricate shapes or detailed surfaces, specialty sanders become indispensable:
- Palm sanders for fine detail work in restricted spaces
- Orbital sanders for versatile material removal with smooth finishes
- Belt sanders for aggressive sanding on expansive flat surfaces
- Rotary sanders for curved and contoured woodworking elements
You’ll appreciate how selecting the right specialty tool maximizes both efficiency and quality, ensuring your sanding matches your project’s unique demands rather than forcing compromises with inadequate equipment.
Sand Before Assembly to Prevent Joint Problems
You’ll prepare your surfaces most effectively by sanding each component before assembly, which removes imperfections and creates ideal conditions for joint alignment.
This pre-assembly preparation increases glue adhesion by expanding the bonding surface area while simultaneously eliminating rough edges that’d otherwise compromise fit precision.
Surface Preparation Essentials
Most woodworking failures stem from inadequate surface preparation before assembly, yet this critical step’s importance can’t be overstated.
You’ll achieve superior results by addressing wood fibers and uneven surfaces before joining components.
Pre-assembly sanding with coarser grit materials (120-180 range) effectively smooths rough edges without creating deep scratches.
Use a sanding block for consistent pressure, preparing your surface for finishing and ideal glue adhesion.
This preparation stage allows you to identify misalignments early, enabling corrections before final assembly.
Key preparation steps include:
- Leveling joints to eliminate gaps between pieces
- Removing scratches that’d telegraph through finishes
- Creating uniform surfaces for better aesthetics
- Enhancing adhesive bonding for durability
Properly prepared surfaces minimize post-assembly complications and establish a professional foundation for your finished project.
Achieving Seamless Joint Alignment
Sanding joint edges before assembly creates the even surfaces that prevent gaps and misalignment when components come together.
You’ll want to use 120 to 150 grit sandpaper on all joint edges to eliminate imperfections and create uniform surfaces. This process levels high spots and fills low areas, ensuring tighter joints that resist shifting or separating over time.
When you sand with the wood grain, you’ll reduce visible scratches at completed joints. Proper sanding also enhances adhesion, allowing glues and finishes to bond more effectively between pieces.
Sand After Assembly for Seamless Edges and Joints
Once you’ve assembled your wooden pieces, sanding becomes critical for eliminating rough spots and visible discrepancies at the joints.
You’ll start with 120 or 150 grit sandpaper to level the joints effectively, creating a foundation for finishing. Progress to 220 grit sandpaper afterward to achieve a fine finish that maximizes coating adhesion.
Start with 120 or 150 grit sandpaper to level joints effectively, then progress to 220 grit for a fine, professional finish.
- Maintain even pressure across all surfaces to prevent uneven areas and guarantee smooth shifts between connected elements
- Inspect joints under proper lighting before sanding to identify problem areas requiring extra attention
- Apply consistent pressure during sanding to avoid creating divots that compromise your professional appearance
- Work systematically across seamless edges, checking progress frequently to confirm uniform surface preparation
This methodical approach transforms assembled pieces into polished components ready for final finishing.
Pre-Finish Sanding: Preparing Wood for Stain or Paint
Bridging the gap between assembly and finishing, pre-finish sanding removes surface imperfections, saw marks, and debris that’ll compromise your final coating’s appearance and adhesion.
You’ll achieve a smooth surface by progressing through grits systematically—start with 120-150 grit to address major irregularities, then advance to 220 grit for a glass-like finish.
Always sand along the wood grain to avoid scratches that’ll become visible after staining or painting. Between each grit progression, perform thorough dust removal using a tack cloth or vacuum to eliminate particles that create unevenness.
This meticulous preparation enables even absorption of stains or paints, preventing blotchiness and ensuring professional results.
Proper pre-finish sanding directly determines your project’s final quality.
Light-Sand Between Coats to Improve Adhesion
After you’ve applied your first coat of finish, light sanding between layers greatly enhances adhesion for subsequent coats. Using 320-400 grit sandpaper, you’ll create a slightly roughened surface that allows the next layer to grip effectively.
Light sanding between finish coats with 320-400 grit sandpaper creates surface grip for superior adhesion and professional results.
This technique delivers several critical benefits:
- Minimizes dust nibs and brush strokes for a smoother progression between layers
- Removes surface imperfections that compromise professional appearance
- Improves durability and longevity, especially with water-based finishes
- Prevents glossy surfaces from rejecting subsequent coats
After sanding, you must thoroughly dust off the surface to eliminate residue that interferes with adhesion.
Execute this process gently—aggressive sanding risks cutting through existing finish layers and compromising your base.
Light sanding between finish coats guarantees superior results and a durable final product.
8 Sanding Mistakes That Leave Visible Scratches and Divots
Even when you’re committed to proper technique, common sanding mistakes can undermine your efforts and leave permanent flaws in your finished piece.
Skipping grits creates ghost scratches where deeper marks from the previous grit remain visible. Sanding against the grain introduces unwanted marks that are nearly impossible to eliminate later. Uneven pressure causes divots as you over-sand certain areas while neglecting others, producing an uneven surface.
Failing to remove dust between grit changes allows residual particles to scratch freshly sanded surfaces, compromising your work. Additionally, insufficient lighting during inspection allows visible scratches and divots to escape notice until finishing begins.
You’ll avoid these costly errors by maintaining consistent pressure, always sanding with the grain, thoroughly cleaning between grits, and inspecting under bright lighting.
Frequently Asked Questions
What Is the Main Purpose of Sanding in Woodworking?
You sand wood to remove imperfections like dents, gouges, and saw marks, creating a smooth surface that accepts finishes better and reveals the wood’s natural beauty.
What Is the Golden Rule of Sanding?
You’re steering a river—always flowing with the grain, never against it. That’s your golden rule: sand with the wood’s grain to prevent visible scratches that’ll mar your final finish and betray your craftsmanship.
What Is a Common Mistake When Sanding?
You’ll damage your wood if you skip grit sizes during sanding. Progress gradually through each grit—don’t jump more than one size. This prevents visible scratches and guarantees an even, professional surface finish.
Can I Skip Sanding if I Use Primer?
No, you can’t skip sanding if you’re using primer. Consider a cabinet that peels after six months because the primer didn’t adhere properly to an unsanded surface. You’ll need sanding to 220 grit for ideal adhesion and durability.
Conclusion
You’ve learned that sanding isn’t just smoothing—it’s foundational to professional woodworking. You’ll master grain preparation, tool selection, and timing to achieve flawless finishes. Remember: you can’t polish a tarnished foundation. By sanding strategically before assembly, between coats, and after joinery, you’re building quality into every project. You’ll avoid common pitfalls that plague amateur work, transforming raw lumber into museum-worthy pieces through methodical, deliberate surface preparation.