
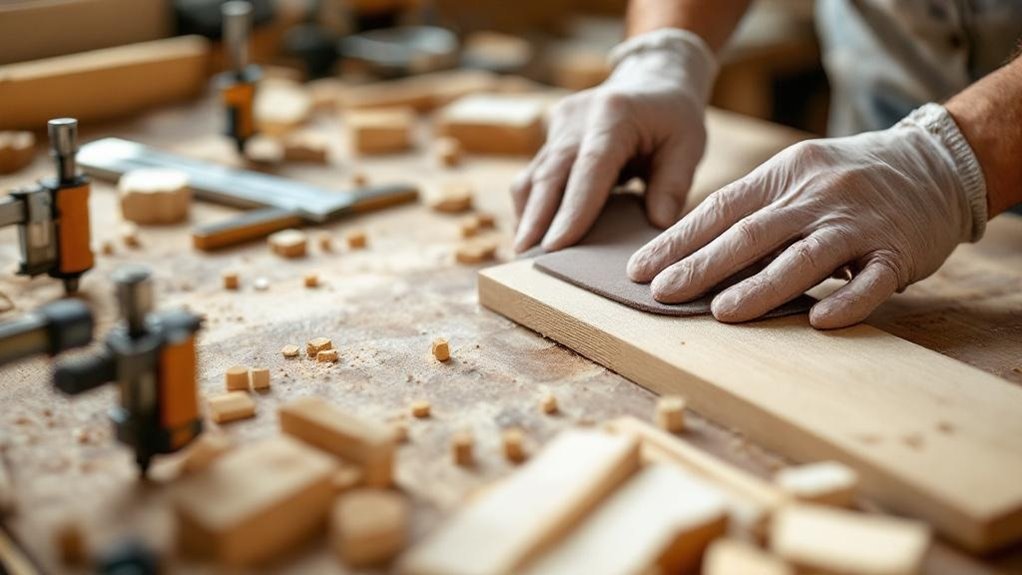
You’ll prevent most beginner errors by mastering five foundational skills. Measure twice using calibrated tools to eliminate costly mistakes. Select forgiving softwoods like pine and identify grain direction before cutting. Keep your blades sharp—dull tools cause tear-out and rough edges. Rush your glue-up timing, and you’ll compromise structural integrity. For existing damage, steam out shallow dents or fill gaps with sawdust-and-glue mixtures. Each technique demands precision and attention to detail. The specifics of these methods’ll transform your results profoundly.
Key Takeaways
- Use sharp tools to prevent tear-out and rough edges, which are common beginner mistakes in woodworking projects.
- Fill small dings with color-matching wood filler or steam out shallow dents using a damp cloth and iron.
- Create homemade filler by mixing sawdust from the same wood species with wood glue for seamless joinery repairs.
- Sand progressively from 80-grit through 220-grit, feathering edges and blending patches into surrounding wood surfaces smoothly.
- Apply matching stain or finish after repairs cure completely to ensure the fix disappears into the workpiece.
Measure Twice to Prevent Costly Mistakes
Because small miscalculations compound into extensive material waste and rework, you’ll markedly reduce costly errors by adopting the “measure twice, cut once” methodology. This practice proves essential when precision matters.
You’ll enhance accuracy by utilizing a high-quality measuring tape and marking knife, which provide sharper, more readable marks than standard pencils. Maintain a detailed cutting list throughout your project, adhering consistently to either metric or imperial measurements.
Calibrate your measuring tools regularly and reference them against established points, particularly when creating uniform pieces requiring consistent fit. Double-check each measurement before cutting, and keep your workspace clean and distraction-free.
These systematic approaches transform measurement accuracy from an afterthought into a deliberate, controlled process that protects your materials and project timeline.
Choose the Right Wood for Your Skill Level
When you’re selecting wood for your first projects, softwoods like pine offer a forgiving introduction to woodworking because they’re easier to cut, sand, and shape than harder species such as oak and maple.
Understanding wood properties prevents Common Woodworking Mistakes. Consult lumberyard staff about density and hardness ratings for your specific application. Grain direction greatly impacts how materials behave during cutting and finishing—misalignment causes tearout and sanding difficulties.
| Wood Species | Density | Beginner-Friendly |
|---|---|---|
| Pine | Low | Yes |
| Oak | High | No |
| Maple | High | No |
Consider both aesthetics and workability; visually appealing woods aren’t always practical for inexperienced craftspeople. When glue-jointing boards, softer woods accept fasteners more forgivingly, reducing frustration and material waste during assembly phases.
Check Grain Direction Before Cutting
Grain direction fundamentally determines the quality of your cuts and the overall finish of your woodworking project. One of the most common mistakes beginners make is ignoring this critical factor, which results in torn fibers and rough surfaces that require excessive sanding.
To check grain direction before cutting, follow these steps:
- Identify grain orientation by observing growth rings, which typically run parallel to the grain.
- Run your hand along the board’s surface to feel which direction feels smoother.
- Mark the grain direction clearly on your workpiece with a pencil or chalk.
- Plan all cuts to proceed with the grain, minimizing tear-out and damage.
Taking time to inspect your wood saves you from costly material waste and frustrating rework, ultimately saving time on your project.
Use Sharp Tools to Avoid Common Mistakes
Sharp tools are fundamental to preventing costly woodworking errors. When you use dull blades and chisels, you’re inviting common mistakes like tear-out, rough edges, and burn marks that demand extensive repair work and sanding.
Sharp tools engage the grain effectively, giving you superior control during cuts and markedly reducing material damage.
You’ll achieve smoother finishes while minimizing slip-related injuries since sharp implements require less force to operate.
Why Rushing Your Glue-Up Ruins Everything
After you’ve carefully cut and prepared your wood components, you can’t afford to compromise during assembly. Rushing your glue-up introduces significant potential problems that undermine structural integrity.
- Misalignments and gaps compromise strength when you don’t allow adequate positioning time.
- Insufficient wood glue curing creates weak bonds that fail under pressure.
- Excessive glue application causes messy joints and complicates cleanup efforts.
- Skipping pre-drilling increases splitting risk during hurried assembly.
You’ll maximize durability by applying glue activator according to manufacturer specifications and waiting for complete cure times.
Proper alignment during assembly directly correlates with final project strength.
Don’t let impatience dictate your results—take time to execute each step methodically, and you’ll achieve superior woodworking outcomes.
Fix Small Dings and Scratches With Wood Filler
Minor surface imperfections don’t require replacing entire boards—you can restore them with properly matched wood filler. Select a color match that corresponds to your wood species for seamless blending.
For deep nicks, apply filler generously and allow it to dry until it shifts from dark to light. Sand the excess with fine-grit sandpaper, creating a flush finish that integrates with surrounding wood.
Combining multiple filler colors enhances grain appearance and repair visibility in your woodworking project.
Before committing to your repair, test the wood filler on scrap material from the same wood species. This critical step confirms the filler accepts stain or finish identically to the adjacent surface, guaranteeing a professional result on your woodworking project.
Steam Out Dents in Solid Wood
Revive compressed wood fibers using heat and moisture—a simple yet effective technique that’ll restore shallow dents without replacing damaged boards.
This method works by expanding wood fibers, raising the dent back to the surface.
Here’s how to steam out dents:
- Place a damp cloth directly over the dent
- Apply a clothes iron set to medium-high heat for several seconds
- Remove the cloth and let the area cool completely
- Assess the results once the wood settles into place
Keep in mind that excessive heat damages finishes and creates additional problems.
This technique suits shallow dents only; deeper indentations require wood filler.
Test the steaming method on scrap wood first to prevent unwanted damage to your project.
Patch Missing Chipouts When You Can’t Find the Piece
When you can’t locate the original chipout, you’ll create a matching patch by cutting a slightly oversized strip from scrap wood and flattening the damaged area with a chisel to establish a clean surface.
You’ll secure the patch firmly using CA glue with activator for immediate stability, then plane or sand it flush with the surrounding surface for seamless blending.
Finally, you’ll apply matching wood filler or stain to guarantee color consistency and complete the repair invisibly.
Creating A Matching Patch
You’ll need to create a matching patch when you can’t locate the missing piece from a chipout. Follow these steps for a seamless repair:
- Flatten the damaged area with a hand plane or chisel to establish a smooth surface for adhesion.
- Cut a matching piece from an offcut, carefully aligning the wood grain pattern and color with surrounding surfaces.
- Taper the patch edges slightly before applying CA glue or wood glue, ensuring a tight fit that resists future chipping.
- Sand the patched area flush using progressively finer grits.
Then apply matching stain or finish to blend the repair seamlessly with the original wood.
Gluing And Securing Firmly
Once you’ve prepared your matching patch and flattened the damaged area, applying the right adhesive is critical to a durable repair. CA glue offers superior bonding strength for this application.
Apply the adhesive directly to the back of your patch, then firmly press it into place against the flattened surface you created with your hand plane.
For accelerated curing, use an activator spray to set the bond almost instantaneously. This prevents the patch from shifting during the initial adhesion phase.
Maintain steady pressure for several minutes to guarantee maximum contact between surfaces.
Once fully cured, you’ll have achieved gluing and securing firmly—establishing a rock-solid foundation for subsequent sanding and finishing work that blends your repair seamlessly with the surrounding wood.
Sanding For Seamless Blending
After your patch has cured completely, sanding becomes the critical step that transforms a visible repair into an invisible one. You’ll achieve seamless blending by following a systematic approach:
- Wear safety goggles to protect your eyes from dust particles throughout the process.
- Start with 80-grit sandpaper, working the patched area and surrounding wood with moderate pressure.
- Progress to 120-grit, then 150-grit, gradually refining the surface and feathering edges into the surrounding material.
- Finish with 220-grit sandpaper for a smooth, uniform texture that matches the original wood grain.
Sand in circular motions, maintaining consistent pressure.
Once you’ve achieved a seamless surface, wipe away all dust and apply matching stain or finish. This final step guarantees your wood filler repair disappears completely into your workpiece.
Fill Joinery Gaps With Sawdust and Glue
You’ll create a homemade filler by mixing sawdust from the same wood species with wood glue until you achieve a paste-like consistency that matches your surrounding material.
Apply this mixture generously into the joinery gap, pressing it firmly to guarantee a tight fit, then rub additional sawdust over the edges to disguise the joint line and blend colors and textures seamlessly.
Once the mixture dries completely, you’ll sand it flush with the surface to produce a smooth, even finish that integrates with the wood grain.
Creating Homemade Filler Mix
Blending fine sawdust from your workpiece’s wood species with wood glue creates a custom filler that matches both color and grain, eliminating the visibility issues common with commercial fillers.
This homemade filler approach requires attention to detail:
- Source clean sawdust exclusively from your project’s wood species, removing all contaminants that cause discoloration.
- Establish a baseline ratio of one part wood glue to two parts sawdust, then adjust incrementally until you achieve a paste-like consistency.
- Apply the mixture generously into gaps using a putty knife, overfilling slightly to compensate for shrinkage during drying.
- Sand the cured filler with fine-grit sandpaper until flush with surrounding surfaces, creating seamless integration.
This method delivers professional results while maintaining material authenticity and aesthetic cohesion.
Applying Sawdust To Joints
Once you’ve prepared your homemade filler mix, the next step involves strategically applying it to joinery gaps where standard fillers would compromise the wood’s authenticity. In your wood shop, work the sawdust-and-glue paste generously into joints, ensuring you eliminate air pockets that weaken bonds.
Use a putty knife to pack the mixture firmly, filling gaps completely. The glue’s working time varies by type, so you’ll need to work efficiently.
After application, resist the urge to disturb the joint. Allow complete drying per manufacturer specifications—typically 24 hours for best results.
Once fully cured, sand the filled area flush with surrounding surfaces. For enhanced color matching, rub additional dry sawdust over the sanded area, creating a seamless finish that preserves your project’s structural integrity and visual quality.
Frequently Asked Questions
What Is the 5’7″ Rule in Woodworking?
You’ll apply the 5’7″ rule by spacing anchor points no farther than 5’7″ apart in your woodworking projects. This guideline guarantees structural stability, prevents sagging, and maintains the integrity of shelves, cabinets, and tabletops through proper reinforcement placement.
What Are Some Common Woodworking Mistakes?
You’ll encounter measuring inaccuracies, poor wood selection, grain-direction neglect, dull tools, and rushing through critical steps. Like a house built on sand, you’re destined for failure if you’re cutting corners before glue dries.
How Do I Start Woodworking With No Experience?
You’ll start by mastering essential tools like saws, drills, and sanders. Begin with simple projects—birdhouses or small furniture pieces. Practice measuring twice, cut once. Study online tutorials, invest in quality wood, and join woodworking forums for guidance.
Does Woodworking Lower Cortisol Levels?
Yes, woodworking is your stress-busting Swiss Army knife. You’ll lower cortisol through focused, repetitive hand work that induces flow states. This mindfulness-based activity demonstrably reduces anxiety, enhances mood, and promotes sustained relaxation when you’re engaged.
Conclusion
You’ve now navigated the minefield of beginner woodworking errors. By measuring twice, respecting wood’s nature, and sharpening your tools, you’re building a foundation as solid as seasoned oak. These techniques aren’t merely band-aids—they’re the scaffolding upon which craftsmanship stands. You’ll transform mistakes into learning opportunities, turning your workshop’s chaos into controlled precision. Master these fundamentals, and you’ll elevate your work from amateur to accomplished.