
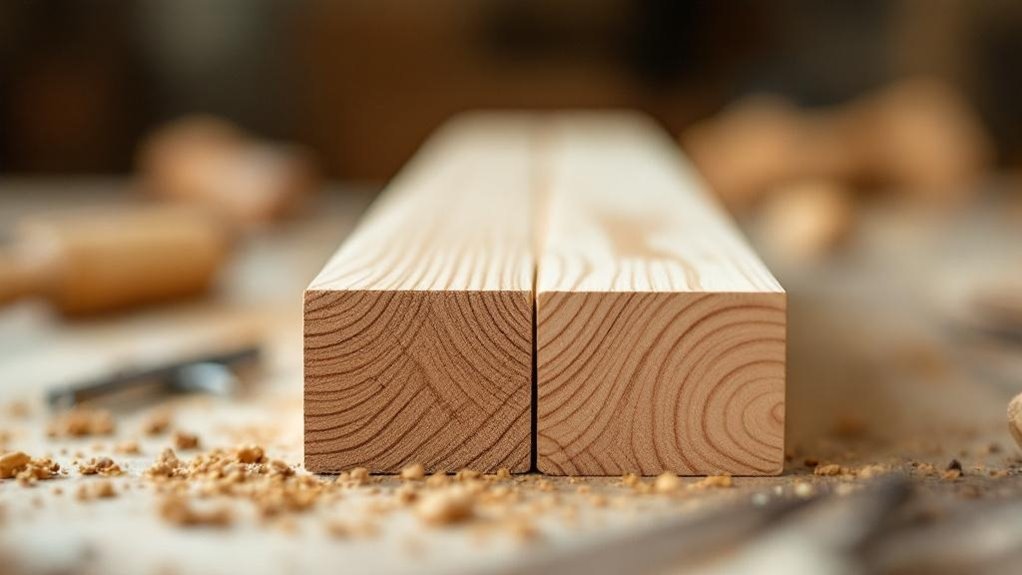
You can master the butt joint—the simplest woodworking joint—in an afternoon with just basic tools and wood glue. It’s ideal for straightforward projects like frames and boxes where you’ll join the ends or edges of two boards together. Simply apply wood glue to one board’s end grain, clamp it firmly against the other piece, and reinforce with screws or nails for durability. While butt joints require minimal equipment and establish foundational skills, you’ll discover more advanced reinforcement techniques that greatly strengthen your connections.
Key Takeaways
- Butt joints are the simplest woodworking joints, requiring only basic tools like saws, glue, clamps, and fasteners.
- They join board ends or edges together by applying glue and clamping firmly with minimal skill required.
- Butt joints need minimal equipment and materials, making them ideal for beginners learning foundational joinery techniques.
- The basic process involves gluing end grain, clamping for alignment, and reinforcing with screws or nails.
- While aesthetically less refined, butt joints work well for quick projects like frames and boxes needing reinforcement.
How to Make Your First Butt Joint
You’ll find that butt joints are the most straightforward joints to master in woodworking—they simply join the ends or edges of two boards together.
To create one, you’ll apply wood glue to the end grain of one board, then clamp it firmly against the other piece. This straightforward process keeps your two pieces of wood perfectly aligned while the adhesive sets.
For added durability, reinforce your butt joint with screws or nails. You can also enhance strength by drilling holes in both boards and inserting dowels before gluing.
Though butt joints are easy to execute, remember they’re structurally weaker than other joint types. Use reinforcement for heavy-duty applications where strength matters most.
Tools You’ll Need to Create a Basic Butt Joint
You’ll need essential hand tools like a saw, wood glue, clamps, and a drill or screwdriver to assemble your butt joint properly.
Power equipment recommendations depend on your project’s scale—a circular saw or miter saw makes cutting easier for larger pieces, while a power drill speeds up fastening.
Measuring and marking instruments, including a tape measure and pencil, guarantee you cut your wood pieces accurately and position fasteners precisely.
Essential Hand Tools Required
Creating a basic butt joint doesn’t require an extensive tool collection. You’ll need a saw to cut your wood to the desired length and angle. A drill becomes essential when you’re reinforcing the joint with screws, as it creates pilot holes that prevent wood splitting.
Wood glue serves as your critical adhesive, bonding the end grain of each piece together for maximum strength. Clamps hold everything securely in place while the glue sets, ensuring a durable connection.
Finally, a square helps you verify alignment, confirming that both pieces meet at the correct angle for a flush, professional-looking joint. These basic tools provide everything necessary to create strong, reliable butt joints.
Power Equipment Recommendations
While hand tools’ll get the job done, three key power tools can considerably streamline your butt joint work. You’ll find that investing in these machines dramatically reduces assembly time and improves precision.
- Miter saw — delivers perfectly square cuts essential for tight-fitting butt joints
- Power drill — quickly drives screws and bores holes for dowels or pocket hole joint applications
- Clamp system — pneumatic or electric clamps maintain consistent pressure while wood glue cures
A table saw also proves valuable for ripping lumber to exact widths before joining.
When you’re creating multiple butt joints, these power tools save significant effort compared to manual methods. They’ll help you apply wood glue effectively and guarantee alignment throughout your project.
Measuring and Marking Instruments
Five essential measuring and marking tools’ll transform your butt joint work from guesswork to precision. Your measuring tape lets you capture exact lengths and widths, ensuring wood pieces align properly before cutting.
A marking gauge creates parallel lines with consistency, guiding your drilling and cuts accurately. Use a combination square to mark straight lines and verify right angles—critical for butt joints.
A straightedge directs your cutting tools along predetermined paths, producing clean edges where boards meet. Finally, a pencil makes clearly visible marks that disappear after assembly, leaving no permanent traces.
Together, these instruments eliminate measurement errors and create professional-quality joints. Invest in quality versions of each tool; they’ll serve you reliably across numerous projects.
Common Mistakes That Weaken Butt Joints
You’ll weaken your butt joint if you don’t prepare surfaces properly and apply enough glue to bond the end grain and long grain together.
Improper clamp pressure—whether you’re under-tightening or over-tightening—creates gaps or crushes wood fibers, both of which compromise strength.
Getting these fundamentals right is essential before you consider adding reinforcements like dowels or screws.
Insufficient Surface Preparation
Because wood dust and debris can prevent glue from properly bonding, you’ll need to thoroughly prepare your joint surfaces before assembly. Insufficient surface preparation undermines the butt joint you’ll use most frequently in woodworking.
Follow these critical steps:
- Sand both wood edges with progressively finer grits to create smooth, even surfaces.
- Remove all dust and debris using a tack cloth or vacuum.
- Pay special attention to end grain, which absorbs glue poorly without proper conditioning.
- Apply a wood conditioner or primer before applying adhesive.
These preparations guarantee the glue to secure your joint remains effective. Skipping this process creates gaps and weak bonds that fail under stress.
Proper surface preparation takes minimal time yet dramatically strengthens your butt joints and improves overall project durability.
Inadequate Glue Application
Applying glue inconsistently or sparingly undermines even the best-prepared joint surfaces. When you apply too little glue, you’ll create inadequate glue application that fails to establish sufficient bonding between the end grain and long grain, resulting in weak butt joints with compromised sheer strength.
Conversely, excessive glue creates assembly problems and weakens joints if you don’t remove the surplus properly. You’ll achieve ideal results by spreading glue evenly across the entire joint surface. This proper glue application guarantees consistent coverage that prevents separation under stress.
Beyond correct application, reinforce your butt joints using clamps and dowels alongside quality adhesive. These combined techniques greatly strengthen your joints and compensate for the inherent weakness of butt joints.
Precision in glue application remains fundamental to successful woodworking.
Poor Clamp Pressure Techniques
While proper glue application sets the foundation for strong butt joints, correct clamping technique determines whether that bond actually develops. You’ll encounter several common mistakes that undermine adhesion and create weak connections.
- Applying insufficient clamp pressure prevents adequate contact between end grain and long grain surfaces.
- Clamping unevenly or one-sidedly creates gaps and misalignment throughout the joint.
- Neglecting cauls or blocks allows uneven pressure distribution that distorts wood surfaces.
- Over-tightening crushes wood fibers and reduces adhesive contact area.
You must balance clamp pressure carefully. Too little pressure fails to establish proper adhesion, while excessive pressure damages wood fibers and compromises the joint’s integrity.
Distribute pressure evenly across both sides using blocks, and maintain consistent pressure throughout the glue’s curing time.
Why Butt Joints Are the Easiest to Learn
If you’re just starting your woodworking journey, butt joints offer the most straightforward entry point. You’ll appreciate their simplicity—they require only basic tools like a saw, glue, and clamps.
There’s no complex cutting or shaping involved; you simply join two pieces end-to-end or edge-to-edge.
As a beginner, you’ll gain confidence quickly because butt joints demand minimal skill to execute successfully. While glue alone provides limited structural integrity, you can easily reinforce them with screws, nails, or dowels as you learn. This flexibility lets you control complexity as your abilities grow.
Though butt joints aren’t the most visually appealing due to visible end grain, they’re perfect for straightforward projects like frames and boxes.
Mastering them establishes the foundational skills you’ll build upon when progressing to more sophisticated joinery techniques.
How to Reinforce a Butt Joint for Better Strength
Strengthen your butt joints by combining wood glue with mechanical fasteners like screws or nails, which work together to resist pull-apart forces that glue alone can’t handle.
You’ll find several effective reinforcement methods for your woodworking joints:
Several effective reinforcement methods exist for strengthening your woodworking joints beyond glue alone.
- Add dowels – Drill holes through both pieces and insert wooden dowels coated with glue to improve alignment and strength notably.
- Use biscuit joints – Cut slots into joined edges and insert glue-coated biscuits to enhance stability and prevent shifting.
- Apply pocket holes – Use a pocket-hole jig to drill angled holes for screws, creating tight fits without visible fasteners.
- Clamp properly – Maintain consistent pressure during glue drying to achieve maximum strength and prevent gaps from forming later.
When to Move Beyond Butt Joints
Three key situations’ll tell you it’s time to move beyond butt joints: when you’re building furniture that’ll endure regular use, when you need joints that can be disassembled and reassembled, or when aesthetic appeal matters as much as function.
For durable furniture projects, lap joints provide superior stability by increasing surface area for adhesive bonding.
If you’re creating pieces requiring disassembly, dowel joints enable precise alignment and straightforward reassembly.
When appearance is essential, miter joints deliver seamless aesthetics in frames and decorative projects.
Pocket hole joints offer a practical middle ground, delivering stronger connections than butt joints while concealing fasteners for a refined look.
They’re ideal when you need better holding power without investing time in traditional joinery techniques.
Choose your joint based on your project’s specific demands.
Butt Joints vs. Pocket-Hole Joints: Which Should You Use?
Now that you’re ready to graduate from basic butt joints, you’ll want to understand how pocket-hole joints stack up as your next logical step.
Pocket-hole joints outperform butt joints in several key areas:
Pocket-hole joints deliver superior strength, concealed fasteners, and refined aesthetics compared to traditional butt joints.
- Strength: Pocket-hole joints create reliable connections without requiring additional reinforcement, while butt joints need screws or dowels for structural integrity.
- Aesthetics: Pocket-hole joints conceal fasteners for a refined appearance, whereas butt joints expose unsightly end grain.
- Tools: Butt joints require minimal equipment, but pocket-hole joints demand a specialized jig investment.
- Application: Choose butt joints for quick, simple assemblies and pocket-hole joints for refined, durable projects.
Your choice depends on balancing project complexity, budget, and desired durability when joining wood.
Advanced Reinforcement Techniques for Stronger Connections
Once you’ve mastered basic woodworking joints, you’ll discover that reinforcement techniques can transform a simple connection into a durable, long-lasting assembly.
While glue alone strengthens joints moderately, reinforcing your simplest joint—the butt joint—with dowels or screws dramatically improves load-bearing capacity.
Pocket-hole joints gain exceptional strength when screws pull pieces tightly together, eliminating aesthetics concerns.
For miter joints, you’ll insert splines into grooves for added mechanical stability.
Biscuits enhance butt joints by improving alignment and expanding gluing surface area.
Dovetail joints already offer inherent mechanical resistance, but adding glue and pegs fortifies them further for high-stress applications.
Choose your reinforcement method based on your project’s demands and desired appearance.
Frequently Asked Questions
What Is the Easiest Wood Joint to Make?
You’ll find the butt joint is the easiest to make. It requires you to simply butt two wood pieces together end-to-end, then reinforce them with glue, screws, or nails for strength and stability.
Which Wood Joint Is the Simplest and Most Commonly Used?
You’ll find the butt joint is simplest and most commonly used. You join two pieces end-to-end or edge-to-edge without complex cuts. You reinforce it with glue, screws, or nails for strength.
Which Is the Simplest Joint to Make?
You’ll find the butt joint is the simplest to make. You just mark your pieces, apply glue, and clamp them together. It’s perfect for beginners tackling quick projects like frames or boxes.
What Is the Weakest Woodworking Joint?
You’ll find the butt joint is woodworking’s weakest option—imagine stacking books spine-to-spine without glue; they’ll slide apart easily. It relies solely on face grain contact, offering minimal resistance to separation without reinforcement like screws or dowels.
Conclusion
You might think butt joints are too weak for real projects, but you’re wrong. When you reinforce them properly with glue, screws, or dowels, they’ll hold up just fine. Start here to build your confidence, then graduate to more complex joints. You’ve got this—grab your tools and make that first cut today.